
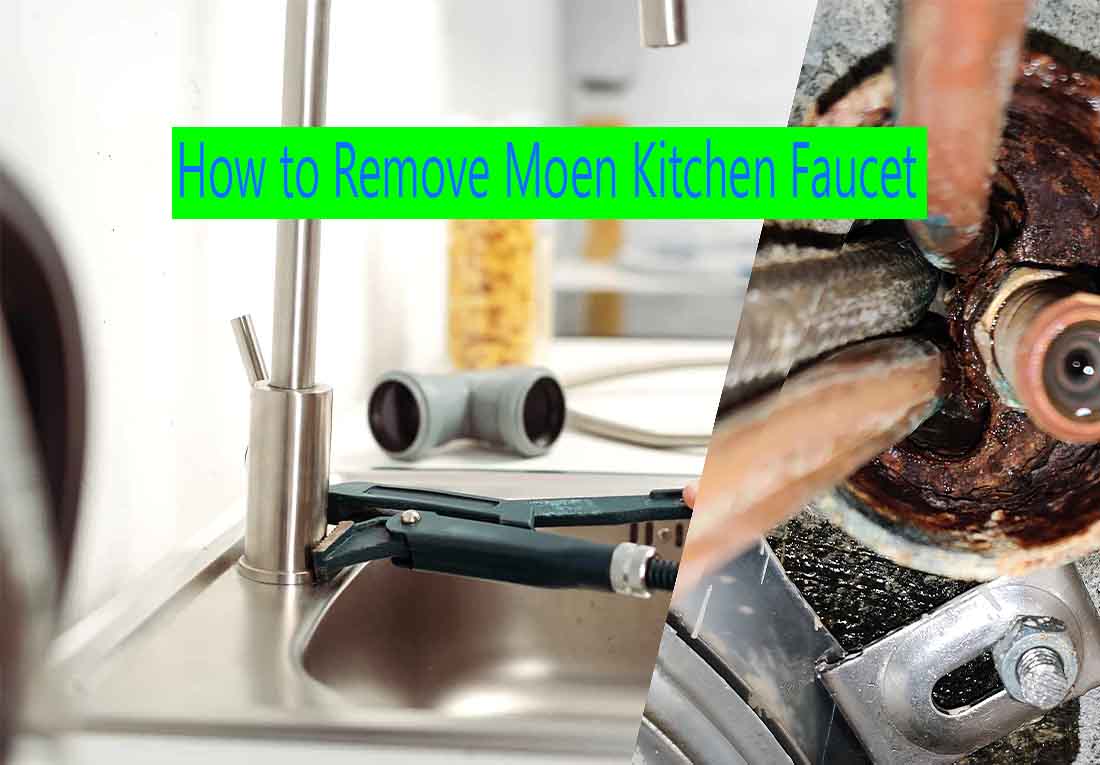
How to Remove Moen Kitchen Faucet? To remove a Moen kitchen faucet, start by turning off the water supply. Then, use a wrench to loosen the connections and detach the faucet from the sink or countertop.
Have you ever wondered how to remove a Moen kitchen faucet? Whether you’re upgrading to a new model or need to make repairs, removing your old faucet is the first step. By following a few simple steps, you can easily remove your Moen kitchen faucet without any hassle.
We will guide you through the process, ensuring a smooth and efficient removal. So, let’s get started and learn how to remove a Moen kitchen faucet in a few easy steps.
Gathering The Tools And Materials
Gathering the necessary tools and materials is an essential first step in removing your Moen kitchen faucet. Before you start, determine the type of Moen kitchen faucet you have to ensure you have the correct tools for the job.
Here are the tools and materials you will need:
- Adjustable wrench: This will help you loosen and remove the faucet.
- Phillips head screwdriver: Some faucets may have screws that need to be removed.
- Plumber’s putty: You may need this to seal the new faucet.
- Bucket: This will catch any water that may leak during the process.
- Towels: Keep some towels handy to wipe up any spills or drips.
- New Moen kitchen faucet: Make sure you have the replacement faucet ready before you start.
Once you have gathered all the necessary tools and materials, you’ll be ready to proceed with removing your Moen kitchen faucet.

Shutting Off The Water Supply
In order to remove a Moen kitchen faucet, it is essential to shut off the water supply. This is an important step to prevent any water leakage during the removal process. To locate the water shut-off valves, look under the sink.
These valves are usually located near the base of the faucet or on the wall behind the sink. Once you have found the valves, turn them clockwise to shut off the water supply. It is important to turn both hot and cold water valves to completely shut off the water flow. Once the water supply is shut off, you can proceed with removing the Moen kitchen faucet.

Removing The Handle
To remove the Moen kitchen faucet handle, begin by unscrewing or prying off the cap. This will expose the screw that holds the handle in place. Using a screwdriver, remove the screw and carefully detach the handle lever or escutcheon. Take care not to apply too much force to avoid damaging any components.
Disconnecting The Supply Lines
When removing a Moen kitchen faucet, the first step is to disconnect the supply lines. To do this, locate the supply lines connected to the faucet. You can use pliers or an adjustable wrench to loosen the connections. Carefully turn the connections counterclockwise to loosen them.
Loosening The Faucet
To remove a Moen kitchen faucet, the first step is to identify the type of faucet connection and the method of removal. You can use a wrench or pliers to loosen and remove the faucet.
Here are the steps to follow:
- Shut off the water supply valves under the sink.
- Find the retaining nut that holds the faucet in place.
- Using an adjustable wrench or pliers, loosen the nut by turning it counterclockwise.
- Once the nut is loose, you can remove it by hand.
- Gently lift the faucet off the sink.
- Clean the area where the faucet was installed to remove any debris or buildup.
If the faucet is stuck or difficult to loosen, you can use penetrating oil or a faucet lubricant to help loosen it. Remember to handle the faucet with care to avoid any damage during removal. With these steps, you’ll be able to successfully remove your Moen kitchen faucet.
Removing The Cartridge Or Valve
To remove the Moen kitchen faucet cartridge or valve, start by unthreading it from the faucet body. Carefully twist the cartridge counterclockwise to loosen it and then pull it out. If the cartridge is damaged or malfunctioning, you may need to replace or repair it.
Make sure to turn off the water supply before proceeding with the removal. This will prevent any water leakage during the process. It’s also a good idea to refer to the specific instructions provided by Moen for your particular faucet model, as they may have specific guidelines to follow.
Removing the cartridge or valve is an important step in maintaining and repairing your Moen kitchen faucet. By following these steps and handling the cartridge with care, you can successfully remove it and proceed with any necessary repairs or replacements.
Cleaning And Reassembling
If you are looking to remove a Moen kitchen faucet, the cleaning and reassembling process is crucial. Begin by cleaning any debris or buildup from the faucet components. Take care to remove any gunk or mineral deposits that may affect the faucet’s performance.
Next, dismantle the faucet by following the manufacturer’s instructions. Once disassembled, clean each component individually, ensuring you remove any dirt or grime that may have accumulated over time. After cleaning, reassemble the faucet by following the steps in reverse order.
Make sure all connections are secure and tightened properly. Finally, test the faucet to ensure it is functioning correctly. By following these steps, you can easily remove and clean a Moen kitchen faucet, prolonging its lifespan and maintaining its efficiency.
Testing The New Faucet
| Testing the New Faucet |
| Once you have installed your Moen kitchen faucet, it is essential to test it to ensure proper functionality. To begin, turn on the water supply and carefully inspect for any leaks. This step is crucial as it will allow you to identify any potential issues before proceeding. Run the water through the faucet at different temperatures and pressures to ensure smooth operation. |
Troubleshooting Tips
If you are facing issues while removing your Moen kitchen faucet, there are a few troubleshooting tips to help you out. Turn off the water supply by shutting off the valves under the sink. Use an adjustable wrench to loosen the nuts connecting the faucet to the water lines.
Be careful not to damage any pipes or fittings. If the nuts are stuck, apply some penetrating oil and let it sit for a few minutes before attempting to loosen them again. Once the nuts are loosened, gently lift the faucet out of the sink.
If you encounter any difficulties during the process, it is always a good idea to consult the manufacturer’s instructions or reach out to their customer support for guidance. Remember to take your time and be cautious to avoid any unnecessary damage.
Frequently Asked Questions Of How To Remove Moen Kitchen Faucet
How Do You Remove A Single Handle Kitchen Faucet?
To remove a single-handle kitchen faucet, follow these steps:
Step 1: Turn off the water supply valves under the sink.
Step 2: Use an Allen wrench to loosen the set screw on the handle and remove it.
Step 3: Unscrew the bonnet nut and remove the faucet cartridge.
Step 4: Detach the supply lines and remove the faucet.
How Do You Remove A Faucet Handle Without Visible Screws?
To remove a faucet handle without visible screws, follow these steps: 1. Look for a small cap on the handle, usually near the base. 2. Gently pry off the cap using a flathead screwdriver. 3. You’ll find a screw beneath the cap—remove it using a screwdriver.
4. Once the screw is out, pull the handle straight off the stem. 5. Voila! Your faucet handle is now removed.
How Do You Remove A Moen Kitchen Cartridge?
To remove a Moen kitchen cartridge: 1. Shut off the water supply valves. 2. Remove the handle or handles. 3. Unscrew the cartridge retaining nut. 4. Pull out the cartridge with pliers. 5. Replace with a new cartridge and reassemble the faucet.
How Do You Remove A Moen Single Handle Kitchen Faucet Cartridge?
To remove a Moen single handle kitchen faucet cartridge, follow these steps: Turn off the water supply. Remove the handle by unscrewing the set screw underneath. Use pliers to unscrew the cartridge nut. Gently pull the cartridge out. Replace with a new cartridge if needed.
Conclusion
Removing a Moen kitchen faucet is a simple task that can be completed with just a few tools and some basic knowledge. By following the step-by-step instructions outlined in this blog post, you can easily remove your old faucet and install a new one.
This process will not only save you money on professional installation fees but also give you the satisfaction of completing the project yourself. So go ahead and give it a try – you’ll be amazed at how easy it can be!

Hy, I am Malie Vickers, a Kitchen Expert with 10 years of hands-on experience. With an unwavering passion for culinary excellence and a profound understanding of the art of cooking. I am Renowned for a comprehensive grasp of diverse cuisines, and innovative cooking techniques. So I will talk about cooking recipes and kitchen design experience for my blog site.